Web Based Mash Profiles Updated Mash Profiles in the WebUI
So I have spent some time improving Mash Profiles in StrangeBrew Elsinore, you can now do edits, re-orders, deletes, all from the Web interface. And since StrangeBrew QT is dead for me now (too much hassle to support multiple platforms), I’ve been integrating support with StrangeBrew Java
This is STILL A TEST Feature
If you see an issue, please raise a bug with as much information as possible. One line “This doesn’t work” won’t help me to fix it. Check the logs, this feature has lots of WARNING output (rather than info) until it’s been tested well enough to be part of the main branch.
What is a Mash Profile?
I know I’m probably not using the right phrase, but I figured it was catchy enough to refer to, and it gets the intent of the feature across.
A Mash Profile is a series of Mash Steps, many Mash Steps equal one Mash Profile.
In Elsinore, you can have a mash profile for each PID you have setup.
OK, what does a Mash Profile allow me to do?
The profile allows you to setup mash steps in advance, with target start temperatures, duration, and names, Elsinore then has a background thread for each Mash Profile that has been setup.
What Elsinore does is:
- Checks to see if there’s an active mash step, if there’s not it doesn’t do anything, simple
- Sets the target PID Temperature to that of the mash profile
- Checks to see if the current temperature on the profiles PID to see if it’s in range of the target profile (currently this is hard set to +/-2F, but this is next on my list to make flexible)
- If it’s within the target range, it will then activate the mash step and set the start time, whilst at the same time setting the target end time
- If the end time has been hit, or surpassed, the actual end time is recorded (up to 10s difference)
- If there’s another mash step, this becomes the active step
- Goto (1)
Sweet, it’s like a set and forget thing!
No, seriously it’s not, you need to monitor everything closesly, as I said at the beginning, I don’t use this feature (at the moment) so it’s difficult for me to detect any issues.
Also, whilst Elsinore does set the Target Temperature, it does NOT activate the element by itself. If a PID is already on manual, it will not move it to Auto, or Off. I don’t want to active an element when someone hasn’t put their water in, or something isn’t right!
I do not recommend leaving Elsinore to run by itself whilst you go out of the house, there’s lots of things that can go wrong. Propane leaks, SSRs shorting out, fires, bad bad bad things.
OK, I get it, I think I want to use this.
You no longer need a desktop StrangeBrew application! It does help, you can use StrangeBrew Java, go to Options -> Preferences -> Brewer. And add the Elsinore location, make sure you include the port! For me it’s http://brewery:8080 Then, go to the Mash Panel, setup your mash and click the “Send >” button to send it to Elsinore, as with StrangeBrew QT, you can select which PID you want to use.
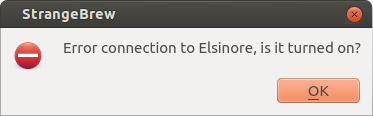
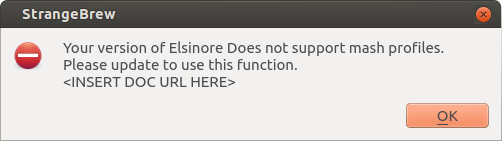
You’ll get relevant messages for any issues that StrangeBrew finds when trying to update the mash Profile, and then a message for the profile being sent
You will see a prompt to select the relevant PID that you want to acivate the mash profile for.
If there’s a profile already active, you can override it!
These images are from StrangeBrew QT, but they are similar/the same for StrangeBrew Java.
Hold on, you said I could do it from the Web Interface…
Yup, I did, here’s how you do it.
- Make sure the UI is unlocked.
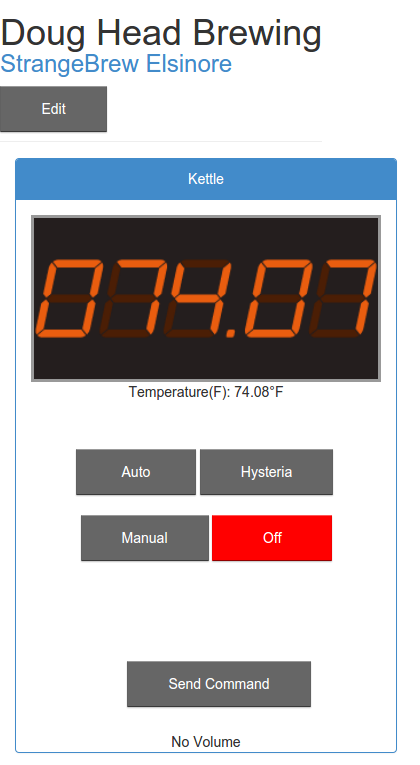
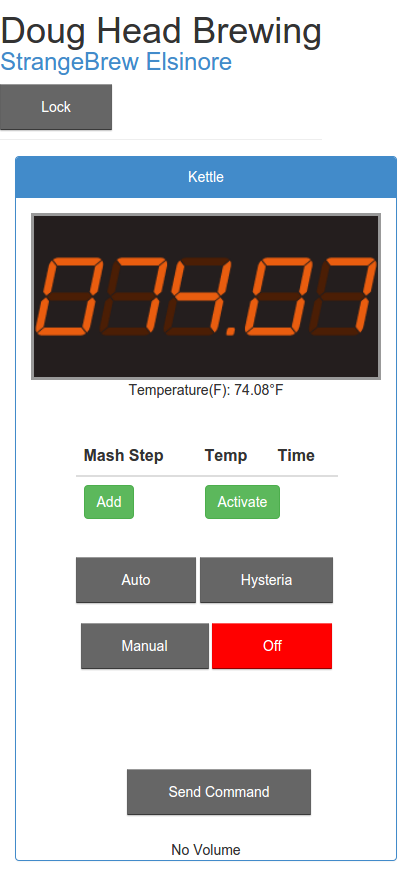
- Click the “Add” button for the PID you want to add a mash step to.
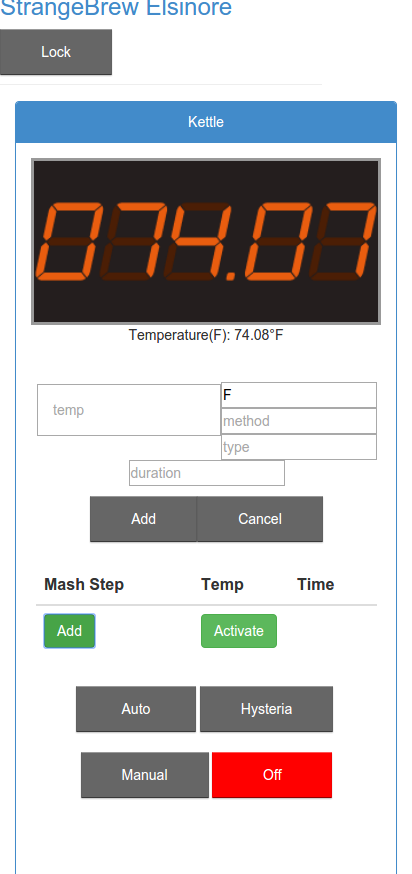
The Boxes have text in them to tell you what’s expected from each box.
“Temp” is the target temperature for the mash step.
“Unit”, which defaults to your system temperature Unit.
“Method”/”Type” these are used so you know what’s going on (StrangeBrew Java adds them in automatically).
“Duration” is how long to hold the temperature for before moving onto the next mash step. - Then hit the gray/grey “Add” button to add the step, repeat as much as you want, then hit “Cancel” to stop adding mash steps.
- You can reorder the mash steps by clicking and dragging the steps to reorder them.
- You can also delete the mash steps by dragging them to the “delete” button (it’ll change when you drag it)
- When you’re done adding mash steps and you’re happy, you’ll need to activate “Auto” mode for the PID with the mash profile, this is a safety feature. No I will not change it.
- When the PID is in Auto mode, press “Activate” on the mash profile table to activate it.
- You can lock the UI when you’re done editing, the mash profile will stay visible.
It’s Sent! What next?
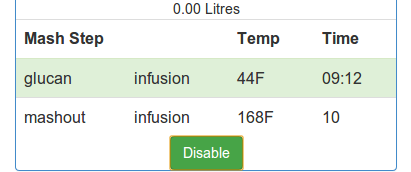
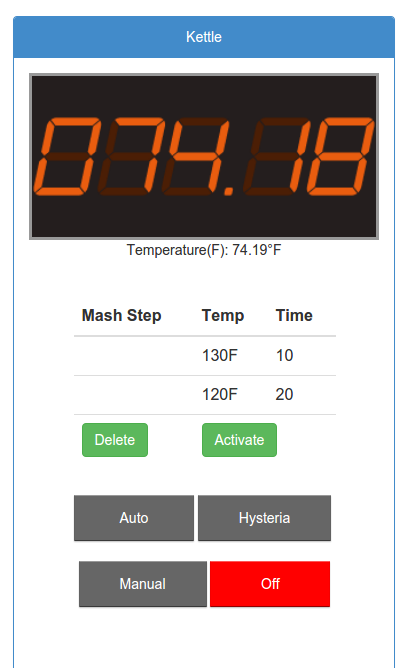
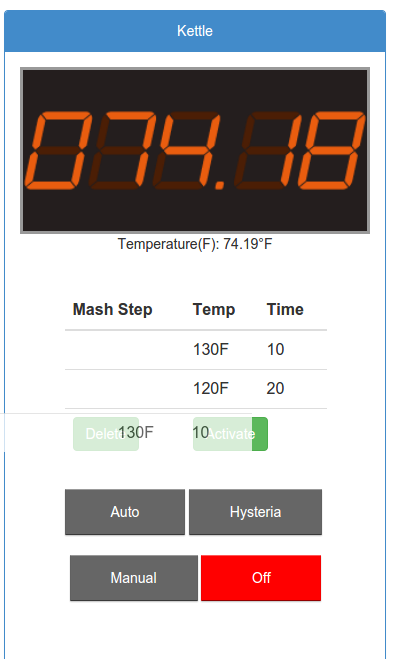
In the Web interface, the relevant PID will show a table of the mash steps, by default none are activated.
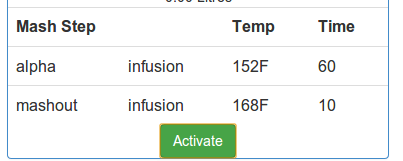
So you’ll need to click the “Activate” button when you’re setup to go. Then press “Auto” on the PID to activate the element.
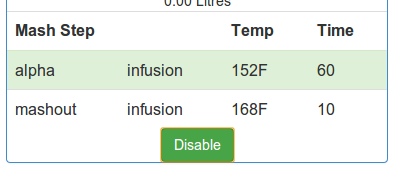
When the PID temperature is within the target range, +/-2F by default, the timer will start